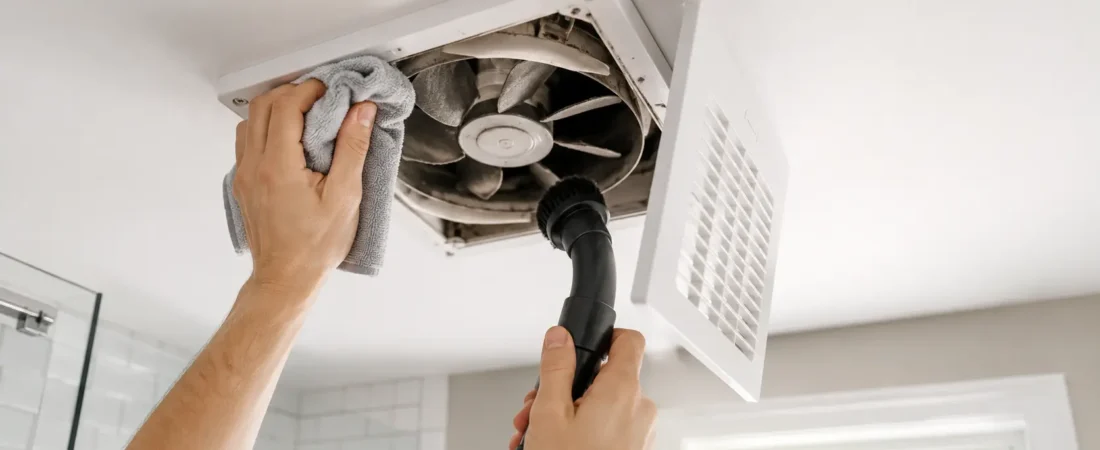
How to Clean a Bathroom Exhaust Fan : A bathroom exhaust fan quietly removes moisture, odors, and humid air every time you shower. But when dust, lint, and grime collect on the grille and around the motor, the fan can lose airflow and become noisy or inefficient. In a damp bathroom, that trapped moisture can contribute to mold and musty smells, while heavy dust buildup around a motor can create an unnecessary electrical and fire risk. Learning how to clean a bathroom exhaust fan is one of those simple maintenance jobs that can make a noticeable difference in bathroom ventilation. With a few basic tools and the right precautions, most homeowners can clean a standard ceiling-mounted fan in under an hour.
Do You Need to Clean Your Bathroom Exhaust Fan?
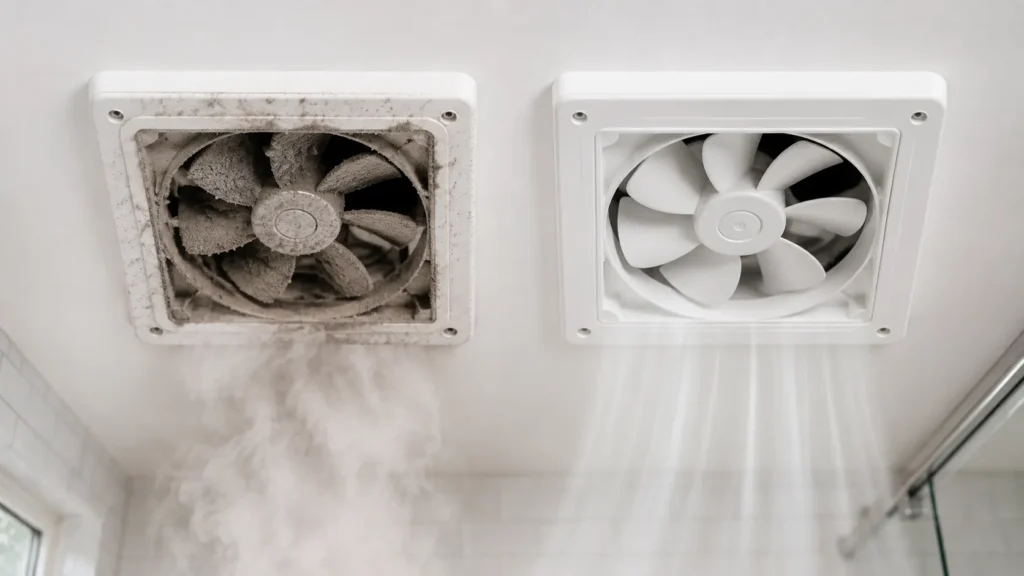
Yes. A bathroom exhaust fan needs regular cleaning because it constantly pulls humid air, dust, hair, lint, and tiny particles through its grille. Over time, that material settles on the cover, fan blades, housing, and sometimes near the motor.
Ignoring the buildup can cause several problems:
- Reduced airflow: A clogged grille and dusty blades make it harder for the fan to move air.
- Trapped moisture: Poor ventilation leaves steam inside the bathroom longer, encouraging mold and mildew growth.
- Noisy operation: Dust and debris can contribute to rattling, humming, or an uneven fan sound.
- Motor strain: A restricted or dirty fan may work harder than necessary, which can shorten motor life.
- Higher electricity use: A motor operating inefficiently can consume more power over time.
- Premature fan failure: In severe cases, years of accumulated dust can interfere with moving parts and cooling around the motor.
In most Indian homes, bathrooms are exposed to high humidity for long periods, especially during monsoon months. That makes routine exhaust-fan maintenance even more useful.
How Do I Know If My Bathroom Fan Vent Is Clogged?
You usually do not need to remove the fan to spot the early warning signs. Pay attention to how the fan looks, sounds, and performs during and after a shower.
Common signs include:
- Weak airflow: The fan runs, but you can barely feel air being pulled upward.
- Loud rattling or humming: A clean fan should generally run with a steady sound. New vibration or rattling deserves attention.
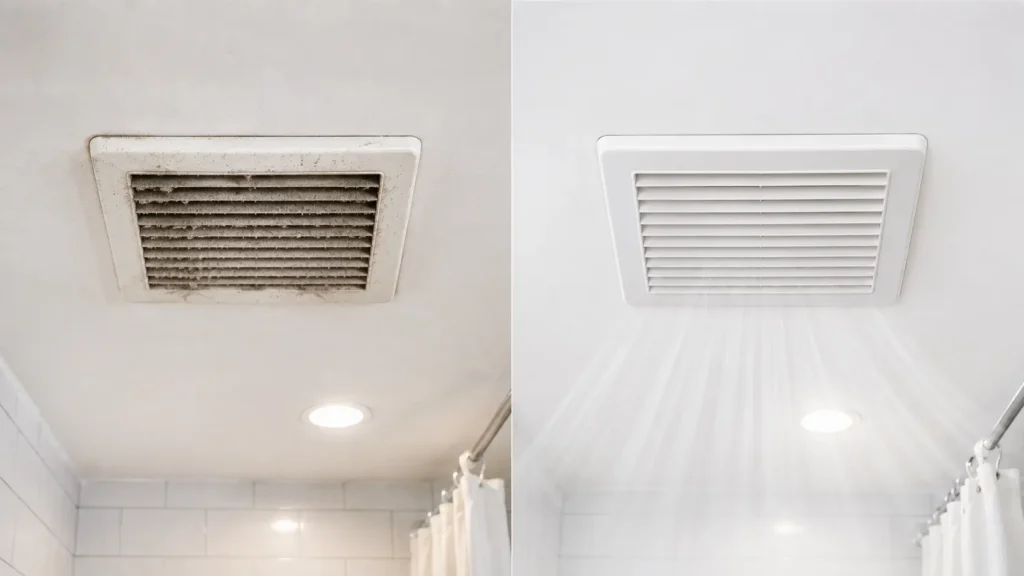
- Visible dust: A gray or fuzzy layer on the grille is a strong clue that the inside needs cleaning too.
- Lingering steam: If the mirror and bathroom remain foggy long after the shower, ventilation may be inadequate.
- Lingering odors: Bathroom smells that take unusually long to clear can indicate poor extraction.
- Tissue-paper suction test: With the fan running, hold a small piece of tissue paper near the grille. If the fan is pulling properly, the tissue should be gently drawn toward the vent. If it barely moves, airflow may be restricted.
The tissue test is only a quick indication, not a precise airflow measurement. If a clean fan still has very weak suction, the duct, exterior vent, or fan motor may need further inspection.
How Often Should Exhaust Fans Be Cleaned?
A practical maintenance schedule is simple: wipe the grille about once a month and deep-clean the fan every 3 to 6 months.
Your ideal schedule depends on bathroom use, humidity, dust levels, and household size. A heavily used family bathroom may need cleaning closer to every three months, while a lightly used guest bathroom may go longer.
A useful routine is:
- Monthly: Dust or vacuum the visible grille.
- Every 3–6 months: Remove the cover and clean the grille, fan blades, and housing.
- After heavy renovation or dusty work: Inspect the fan sooner because fine construction dust can quickly clog it.
- During monsoon or very humid seasons: Check airflow more frequently.
Regular light cleaning is much easier than waiting until a thick layer of dirt has formed inside.
Tools & Materials You’ll Need
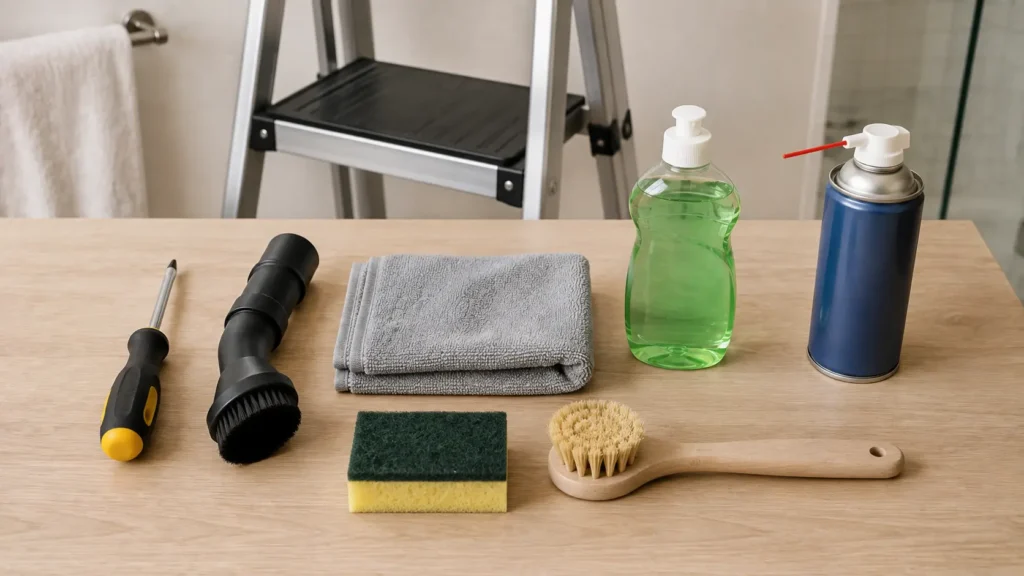
You do not need specialized equipment for a normal exhaust-fan cleaning.
- Screwdriver that matches the cover screws, if fitted
- Vacuum cleaner with a soft brush attachment
- Mild dish soap or gentle household cleaner
- Soft cloth or non-abrasive sponge
- Small step ladder or sturdy step stool
- Bucket or basin for soaking the grille
- Dry towel
- Compressed air can, optional
Keep the tool list simple. The goal is to remove dust and grime without sending moisture or debris into the electrical components.
Safety First: Before You Start
Before doing anything around an electrical exhaust fan, treat it like any other hard-wired appliance.
Turn the fan off at the wall switch and, ideally, switch off the corresponding circuit breaker before removing the cover. A wall switch alone is not always enough protection during maintenance.
Then:
- Let the fan blades stop completely.
- Put your ladder on a stable, level surface.
- Keep water and cleaning solution away from the electrical housing.
- Do not spray cleaner directly into the fan.
- Never soak the motor or electrical components.
- If the wiring looks damaged, burnt, loose, or corroded, stop and have a qualified electrician inspect it.
For older fans, take an extra moment to check whether the grille has brittle plastic, rusted screws, or damaged clips before forcing anything.
Step-by-Step: How to Clean a Bathroom Exhaust Fan / Extractor Fan
Knowing how to clean a bathroom exhaust fan properly means cleaning more than just the visible grille. The inside of the fan housing and blades are where a surprising amount of dust can accumulate.
1. Turn Off Power and Remove the Grille
Start by switching off the fan and the relevant breaker. Position your ladder so you can reach the grille comfortably without stretching.
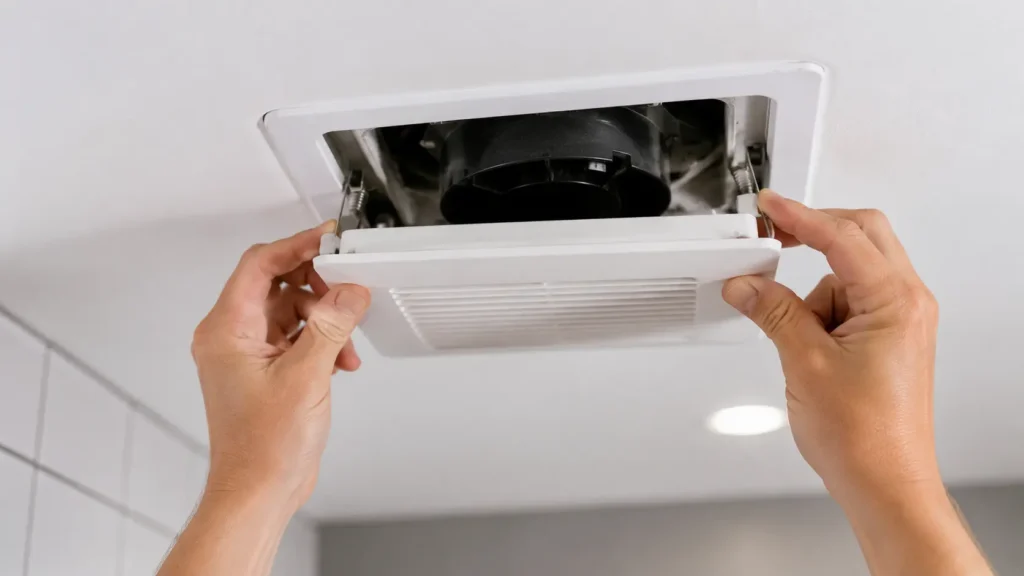
Most bathroom vent covers are held in place by two spring clips. Gently pull the grille down a few centimeters, then squeeze the spring clips inward to release it. Other models use two or more screws, so remove those carefully and support the cover with one hand.
Do not yank the grille. Older plastic covers can become brittle, and spring clips can easily slip.
2. Clean the Vent Cover
Take the grille away from the fan before washing it.
Fill a bucket or basin with warm water and a small amount of mild soap. Let the cover soak for about 10–15 minutes to loosen greasy dust and bathroom grime.
Use a soft cloth or sponge to clean between the grille openings. Avoid abrasive pads because they can scratch plastic or remove the finish.
Rinse the cover thoroughly and dry it completely with a clean towel. Do not reinstall a wet grille.
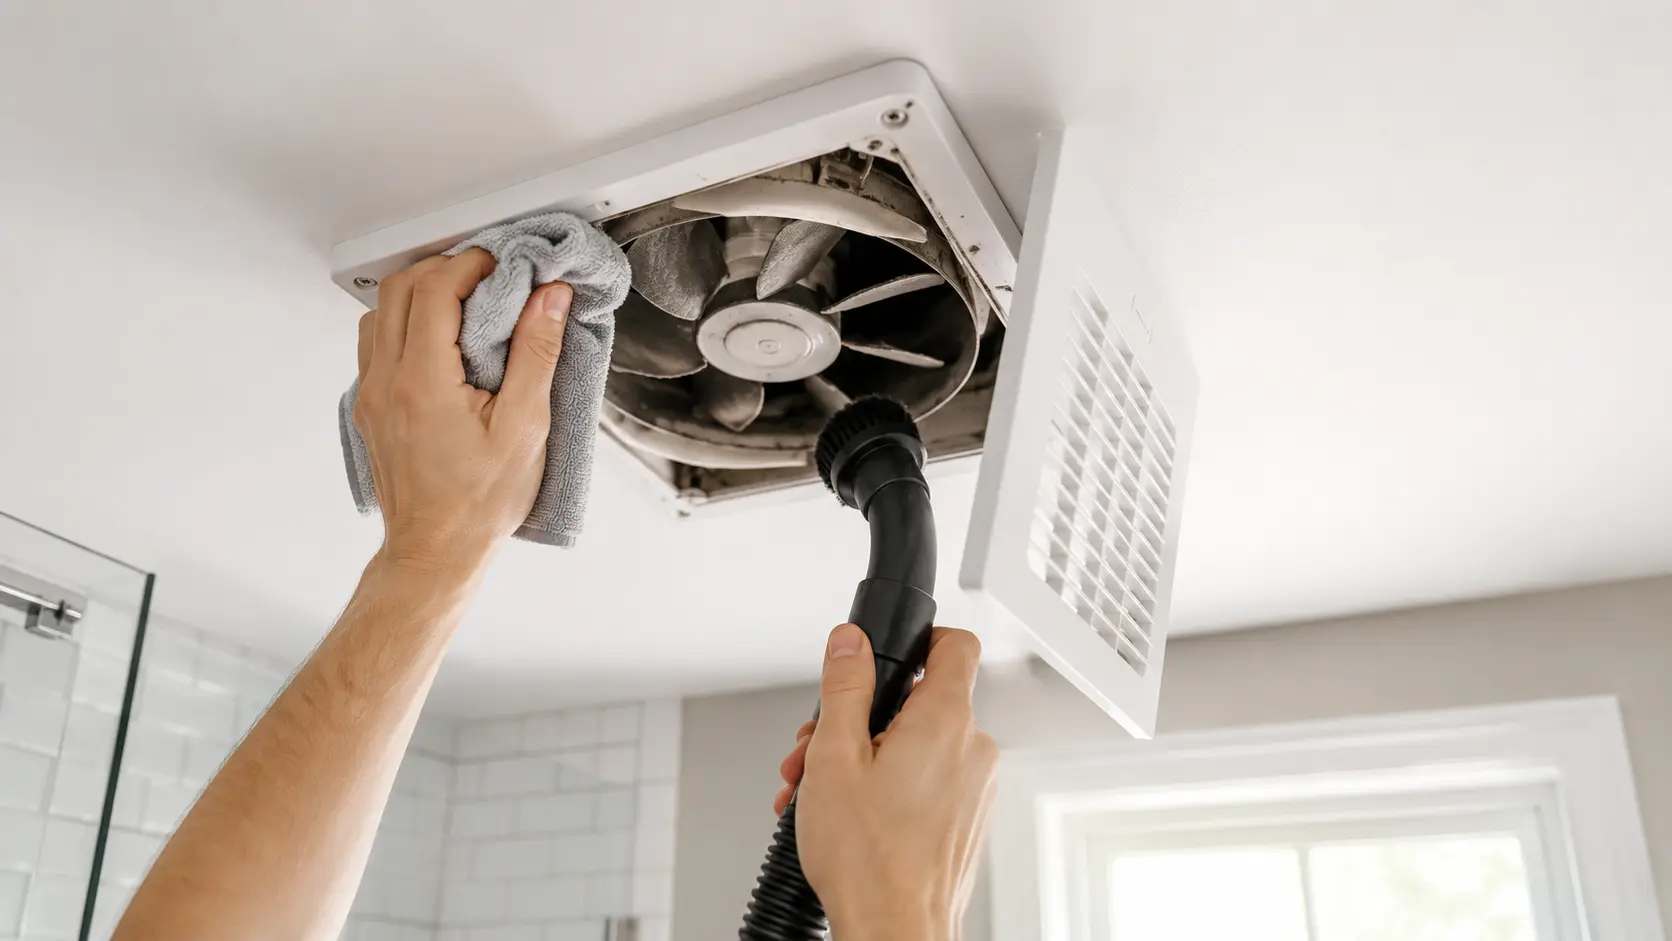
3. Vacuum the Inside of the Fan
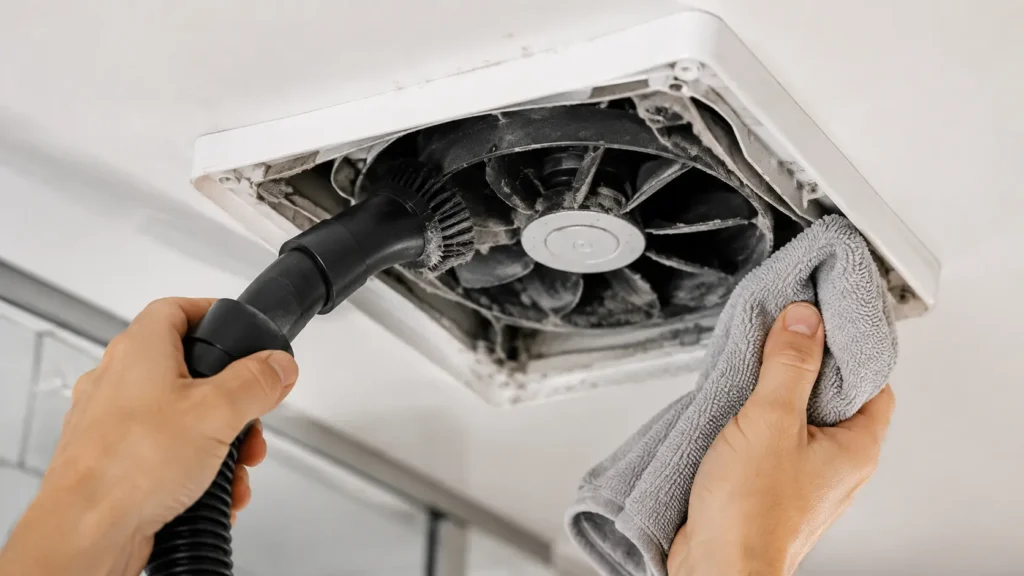
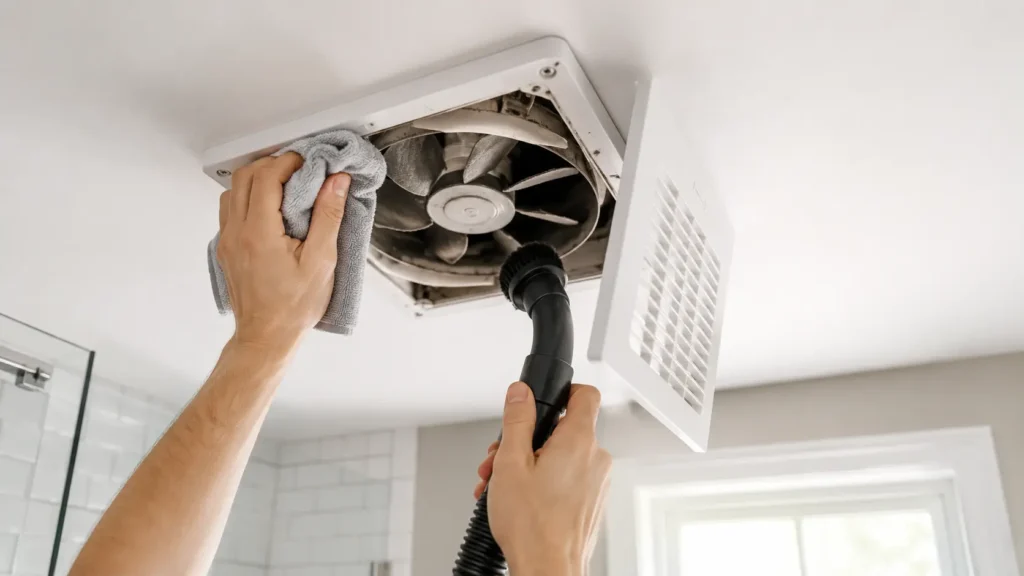
Now inspect the exposed fan assembly. Use a vacuum with a soft brush attachment to remove loose dust from the housing, around the fan blades, and from the edges of the vent opening.
Work slowly rather than pushing the brush aggressively against the blades. You want to lift dust out, not force it deeper into the motor area.
For stubborn dry dust, short bursts of compressed air can help, but use them carefully. Avoid blowing debris deeper into the electrical section of the fan or into the duct.
4. Clean the Fan Blades
The fan blades collect a surprising amount of fine lint and sticky bathroom residue.
With the power still off, gently brush or vacuum each blade. If there is grime that a vacuum cannot remove, use a barely damp cloth to wipe accessible blade surfaces.
Do not drench the blades or spray them with cleaner. Keep moisture away from the motor and wiring.
If the blades feel loose, rub against the housing, or have visible cracks, cleaning alone may not solve the problem. Those symptoms can indicate a mechanical issue.
5. Wipe the Housing and Motor Exterior
This is where extra care matters.
Use a dry microfiber cloth or a cloth that is only slightly damp to wipe the accessible exterior surfaces of the fan housing. You can clean the outside of the motor casing, but never soak the motor, wiring, capacitor, or electrical connections.
This step is especially important when dealing with years of dust buildup. Removing that surface dust helps keep the assembly cleaner without introducing moisture into the electrical parts.
6. Inspect the Duct Opening
Before putting everything back together, look into the vent opening as far as you safely can. You may spot heavy lint buildup, cobwebs, or other debris.
Do not disassemble ductwork unless you know how your ventilation system is constructed. A duct that is badly blocked may require a more thorough cleaning or professional attention.
7. Reinstall the Clean, Dry Grille
Make sure every washable part is fully dry.
Reconnect the spring clips by squeezing them together and placing them back into their slots, or reinstall the screws removed earlier. The grille should sit flat and securely against the ceiling.
Do not leave gaps around the cover, because they can allow dust to collect around the opening.
8. Restore Power and Test Airflow
Turn the breaker and wall switch back on. Listen carefully as the fan starts.
A healthy fan should run smoothly without sudden scraping, harsh rattling, or unusual vibration. Check airflow with the tissue-paper test again.
If suction has improved noticeably, the cleaning has likely addressed the main restriction. If the fan still sounds wrong or has very weak airflow, the issue may be in the duct, exterior vent, motor, or fan assembly.
How to Clean an Exhaust Fan Without Removing It
Sometimes you simply need a quick maintenance clean between deep cleanings. How to clean a bathroom exhaust fan without taking the grille off is straightforward, although it will not remove as much buildup as a full cleaning.
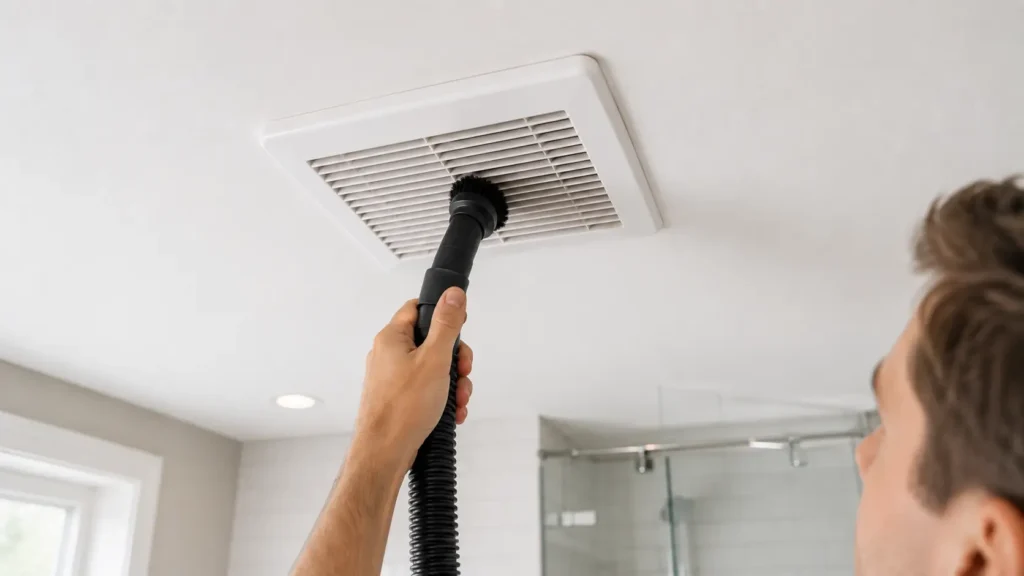
First, switch off the fan and power source. Then use a vacuum cleaner with a soft brush attachment directly over the grille openings.
Move slowly across the entire surface instead of concentrating on one spot. Follow up with a lightly damp cloth around the outer grille to remove surface grime.
This method works well for routine dust control. However, once you notice heavy buildup, weak airflow, or persistent odors, remove the grille and perform a proper internal cleaning.
What Is the Best Way to Clean a Bathroom Exhaust Fan?
The best approach is a power-off deep clean: remove the grille, wash and dry it separately, vacuum the housing and fan blades, carefully wipe accessible surfaces, then reassemble and test airflow.
The key is to clean both the visible cover and the hidden components where dust accumulates. Simply wiping the front of the grille may make the fan look cleaner while leaving the airflow restriction untouched.
What Is the Best Way to Clean an Exhaust Fan?
For a typical household exhaust fan, the best method is to combine vacuuming with gentle hand cleaning. Vacuum first to remove loose dust, then use a slightly damp cloth for stubborn grime.
Avoid soaking the assembly or spraying cleaner directly into it. Exhaust fans contain electrical and moving components that are better cleaned with controlled, low-moisture methods.
How to Clean a Bathroom Extractor Fan?
A bathroom extractor fan is cleaned much like a standard exhaust fan. Turn off the power, remove the cover, wash and dry the cover separately, vacuum the internal housing and blades, and carefully wipe accessible surfaces around the motor without getting them wet.
The biggest difference is usually the fan design rather than the cleaning method. Some extractor models have removable impellers or filters, while others are designed to remain assembled. Follow the appliance’s own service instructions when available.
How to Clean Dirty Exhaust Buildup?
For heavy dirt and grime, start with a vacuum rather than immediately using water. Dry dust should be removed first so it does not turn into a sticky paste.
For washable plastic parts, warm water and mild soap usually handle ordinary bathroom grime. Stubborn residue may need repeated gentle wiping rather than aggressive scrubbing.
If buildup is greasy, sticky, or unusually dark, inspect the fan for nearby moisture, smoke, or contamination sources before simply cleaning it and closing the cover.
How Do You Clean the Inside of a Bathroom Exhaust Fan?
The safest method is to vacuum the interior rather than wash it. Focus on the fan blades, surrounding housing, and accessible areas where lint settles.
Use a soft brush attachment and avoid forcing the vacuum nozzle against electrical components. A barely damp cloth can be used on accessible non-electrical surfaces, but the motor and wiring should remain dry.
Common Mistakes to Avoid
A few mistakes can turn a simple cleaning job into an electrical or mechanical problem.
- Using too much water: Never pour, spray, or soak the fan assembly.
- Forgetting to turn off power: Always shut off the power before removing the grille or reaching inside.
- Cleaning only the visible cover: A clean grille does not necessarily mean a clean fan.
- Waiting until airflow becomes extremely weak: Small monthly cleanups prevent major buildup.
- Forcing clips or plastic parts: If the cover does not release easily, check for screws or another fastening method.
- Ignoring unusual noises: Persistent rattling, scraping, or buzzing may indicate a mechanical or electrical fault.
- Reinstalling parts while wet: Moisture should be completely removed before reassembly.
Conclusion
Regular fan cleaning is simple preventive maintenance that helps your bathroom stay drier, fresher, and better ventilated. A good routine is to wipe the grille monthly and perform a deeper internal cleaning every 3–6 months, adjusting the schedule for humidity and usage. Once you know how to clean a bathroom exhaust fan, the job becomes a straightforward part of normal home care rather than a major repair. Take a few minutes to check your fan this week, and explore more practical home maintenance guides on DailyRecsHub for other jobs that help keep your home running smoothly.
Final Note
A few minutes of regular maintenance can keep your bathroom exhaust fan working efficiently, reduce moisture buildup, and help prevent unnecessary motor strain. Once you know how to clean a bathroom exhaust fan, make it part of your normal home-care routine by giving the grille a quick monthly check and doing a deeper cleaning every 3–6 months. Knowing how to clean a bathroom exhaust fan properly also helps you spot airflow problems, unusual noises, or heavy buildup before they turn into bigger repairs. Keep up with simple maintenance, and your bathroom ventilation system can stay cleaner and more effective for longer.
Suggested Internal Links
- The Ultimate Kitchen Deep Cleaning Checklist
- How Often Should You Service Your RO Water Purifier?
- 10 Easy Ways to Organize Your Kitchen Without Buying Anything New
Love simple home maintenance tips like these? Join the Dailyrecshub community on Pinterest, for daily home & kitchen inspiration, appliance care guides, cleaning hacks, and practical DIY tips. Save your favorite ideas, share them with family, and never miss a helpful update!